Selected props and scenic elements from recent years.
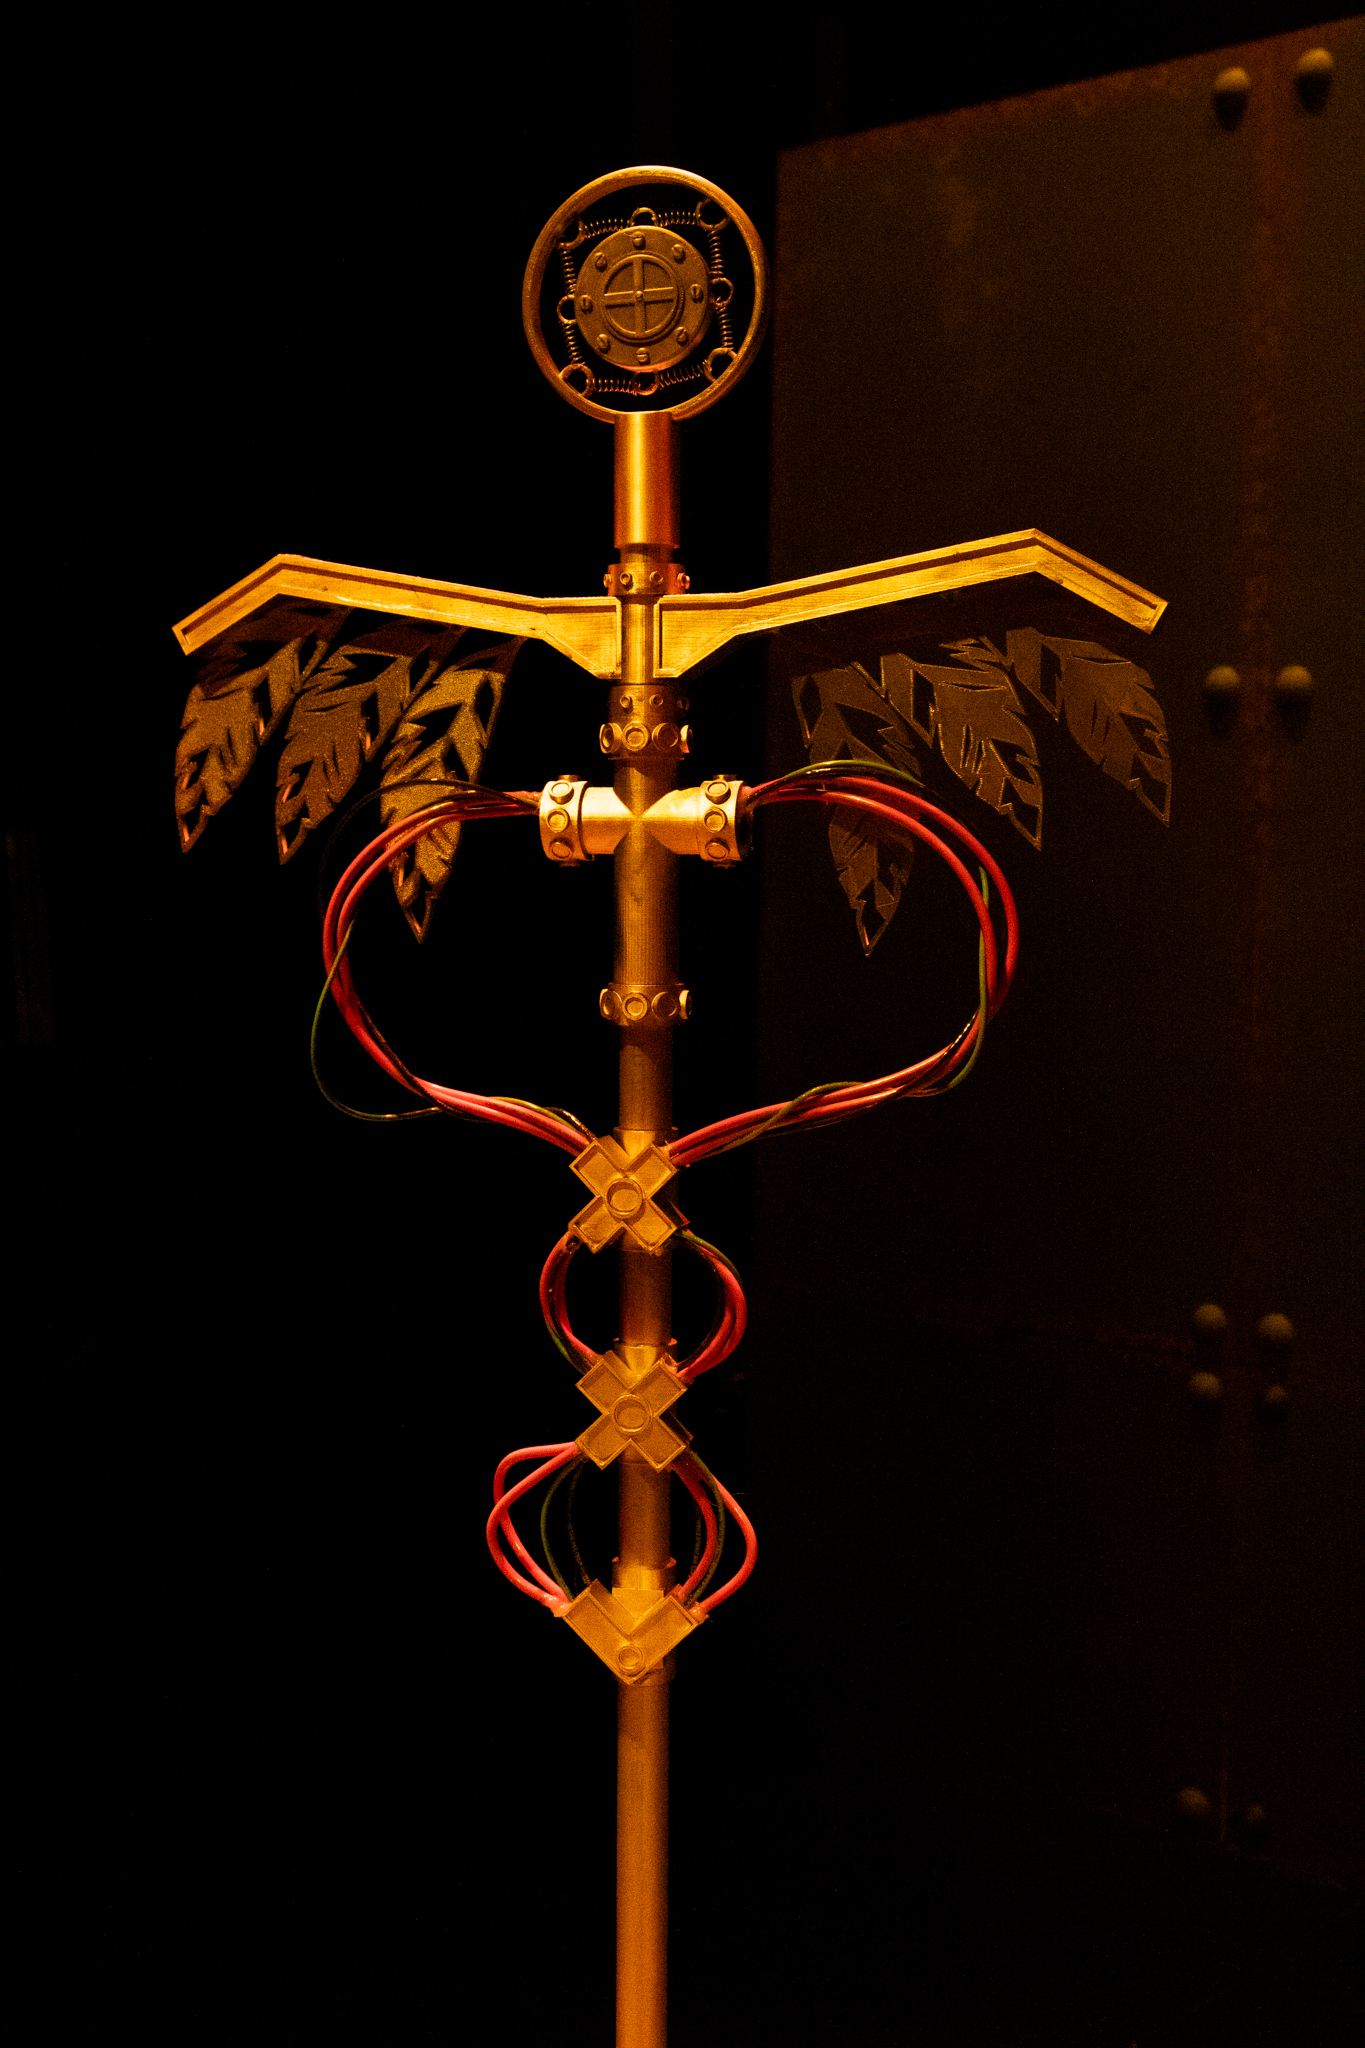
I designed this mic stand based on the classical symbol of Hermes, the caduceus. I used Fusion to design the base, wings, and wire linkage sections before sending the to the 3D printer. The feathers were designed first in Illustrator before being brought into Fusion for scaling and extrusion prior to 3D printing. The head of the mic was sourced from a creative commons licensed file before being integrated into my design for the rest of the mic stand. All parts were assembled and painted before the wire was cut and added.
Close up details of the caduceus.
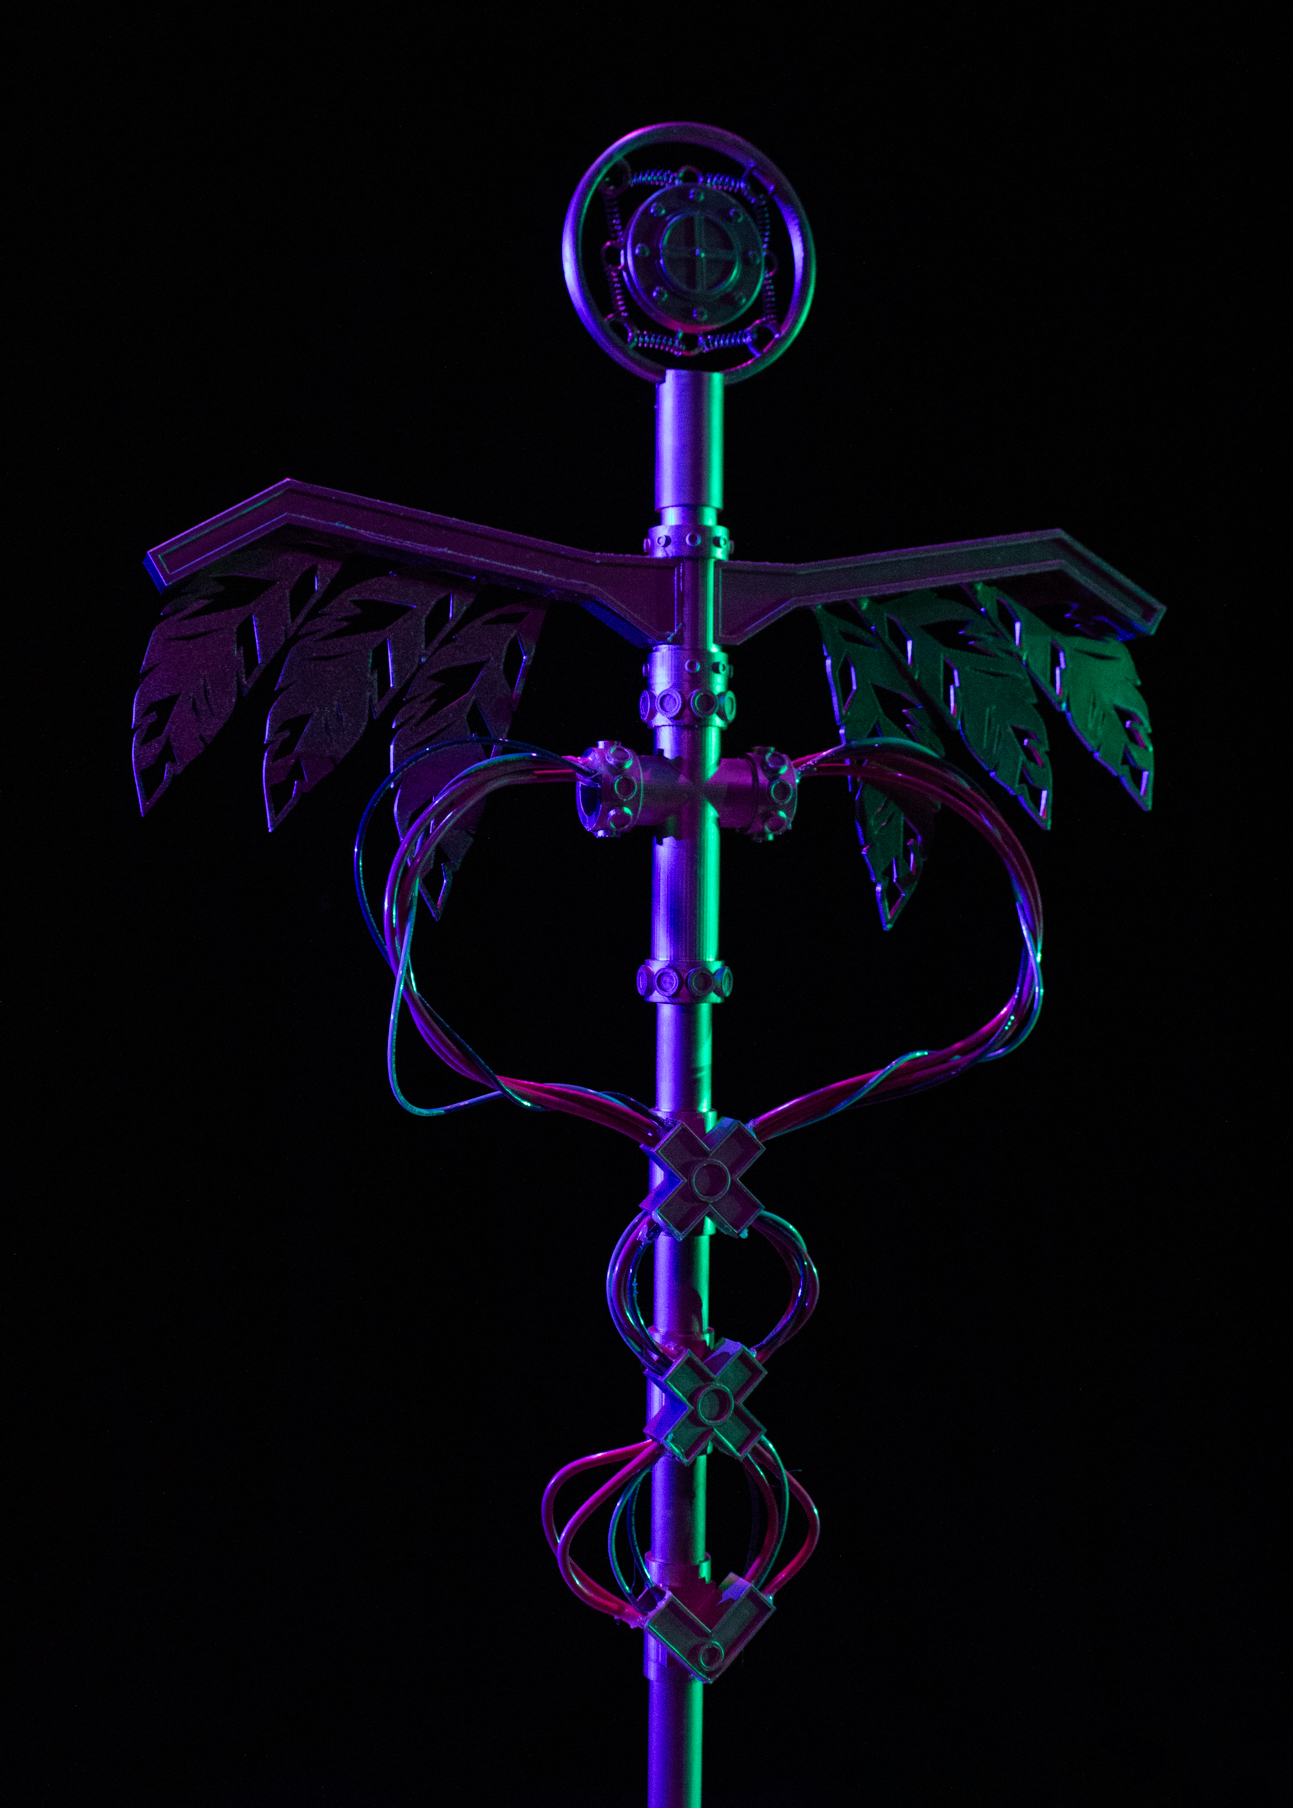
Close up of the caduceus under stage lighting.
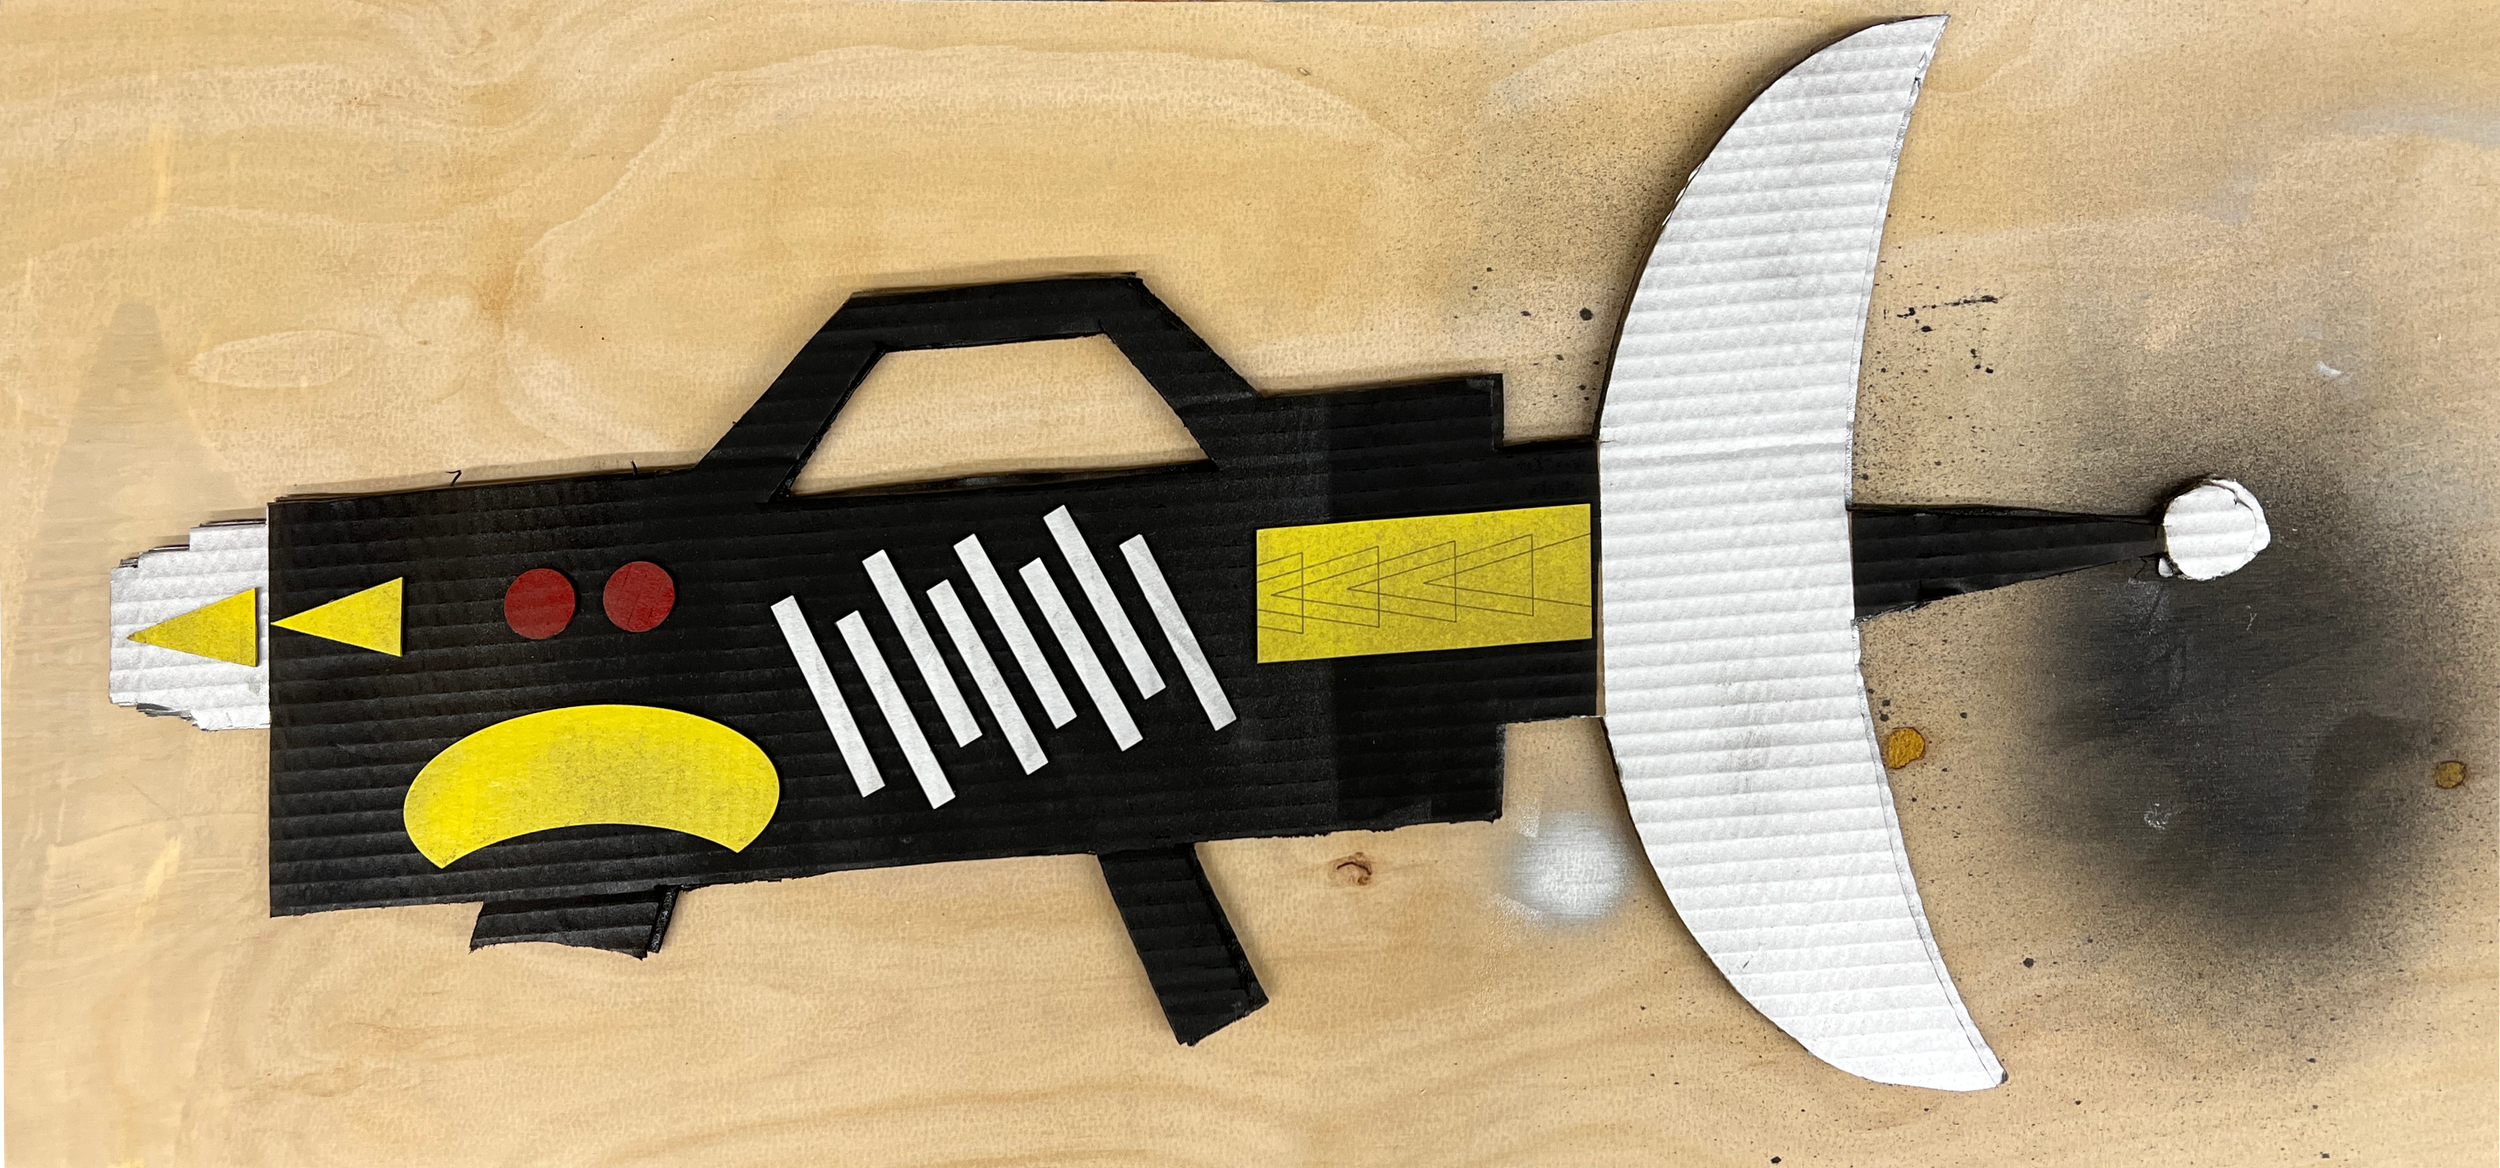
Body and accent pieces were all designed in Adobe Illustrator before being scored and cut from cardboard on a laser cutter. Assembled with spray adhesive and painted with spray paint, per the design aesthetic of the show.
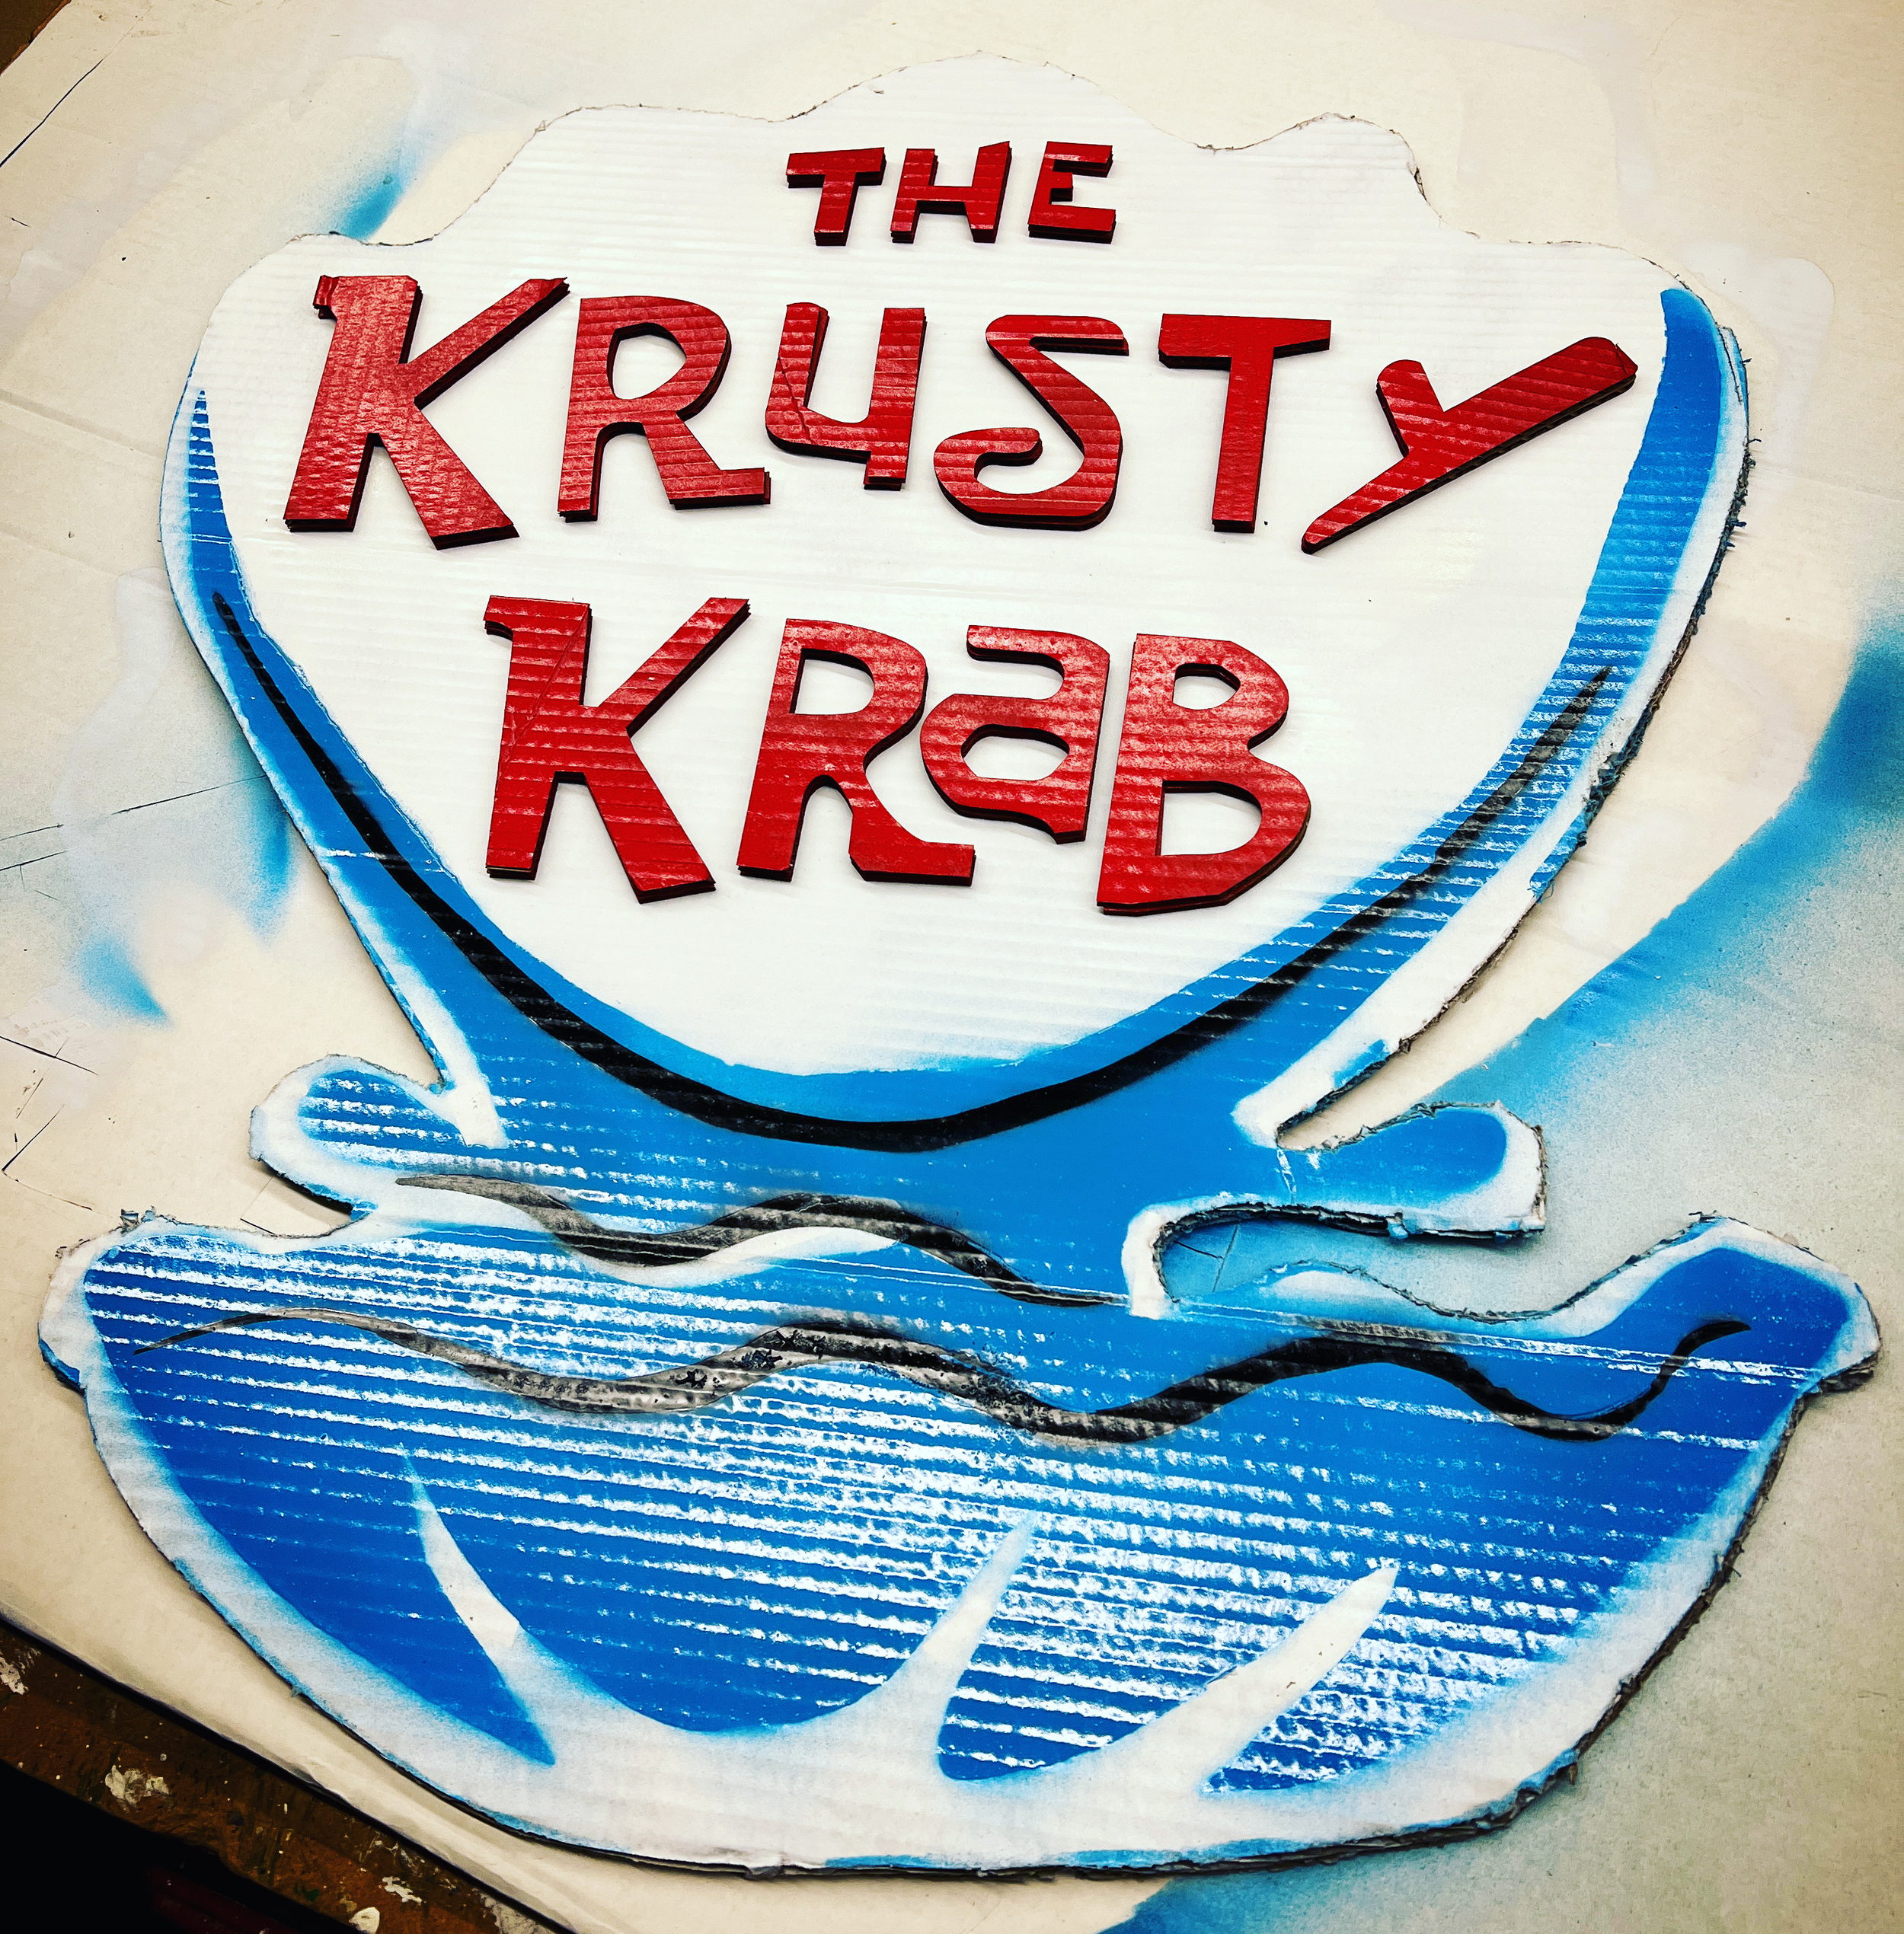
Sign, lettering and paint templates were all designed in Adobe Illustrator before being cut from cardboard on a laser cutter. Assembled with spray adhesive and painted with spray paint, per the design aesthetic of the show.
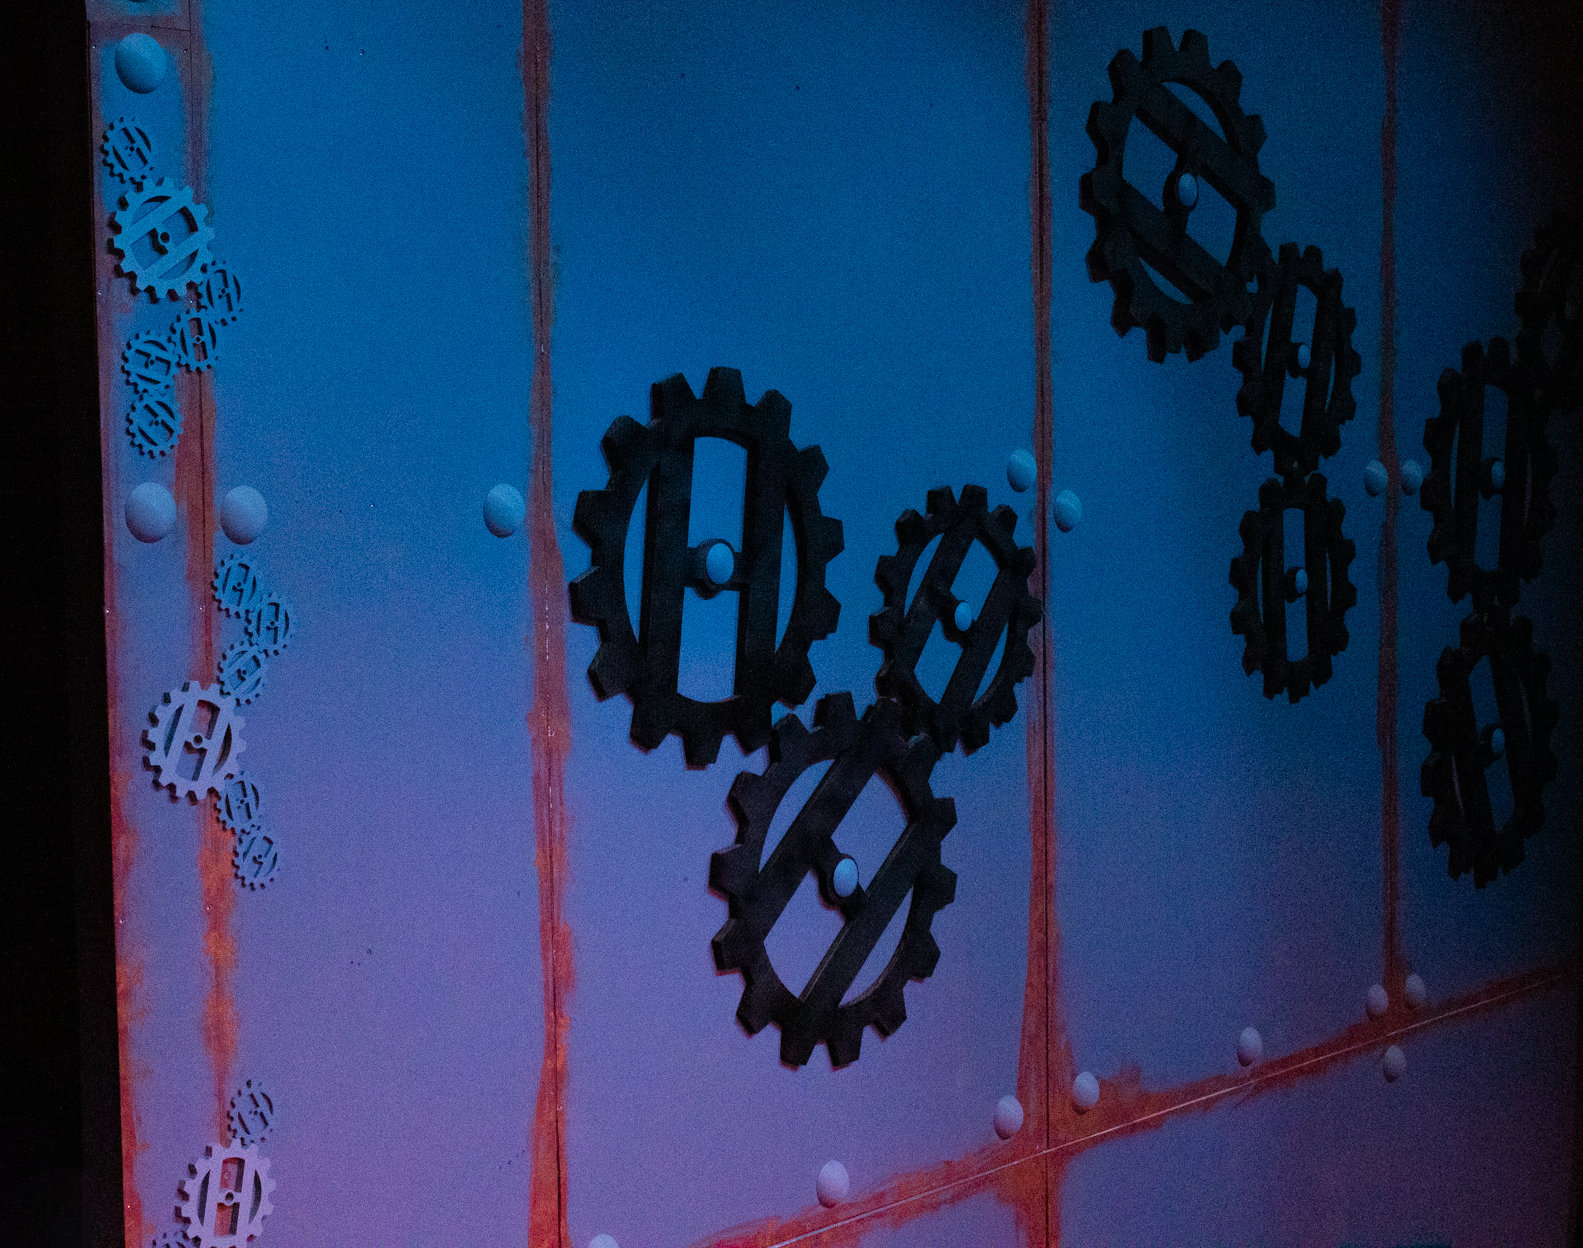
Designed in Fusion before being 3D printed, this gear was a a protype for ones that would eventually be used as set decoration.
The smaller gears were 3D printed, while the larger ones were laser cut from cardboard before being stacked and glued for added depth. You can also see the 3D printed rivets that held the gears to the wall as well as the ones that were added to the wall panels for aesthetics.
These are examples of projects that my students have made in my digital design classes. Projects in both my CAD class and my Graphic Design class start in software (Autodesk Fusion, TinkerCAD, Adobe Illustrator, or Adobe Photoshop) and then are brought into the physical world via 3D printers, CNC machines, or laser cutters/engravers.
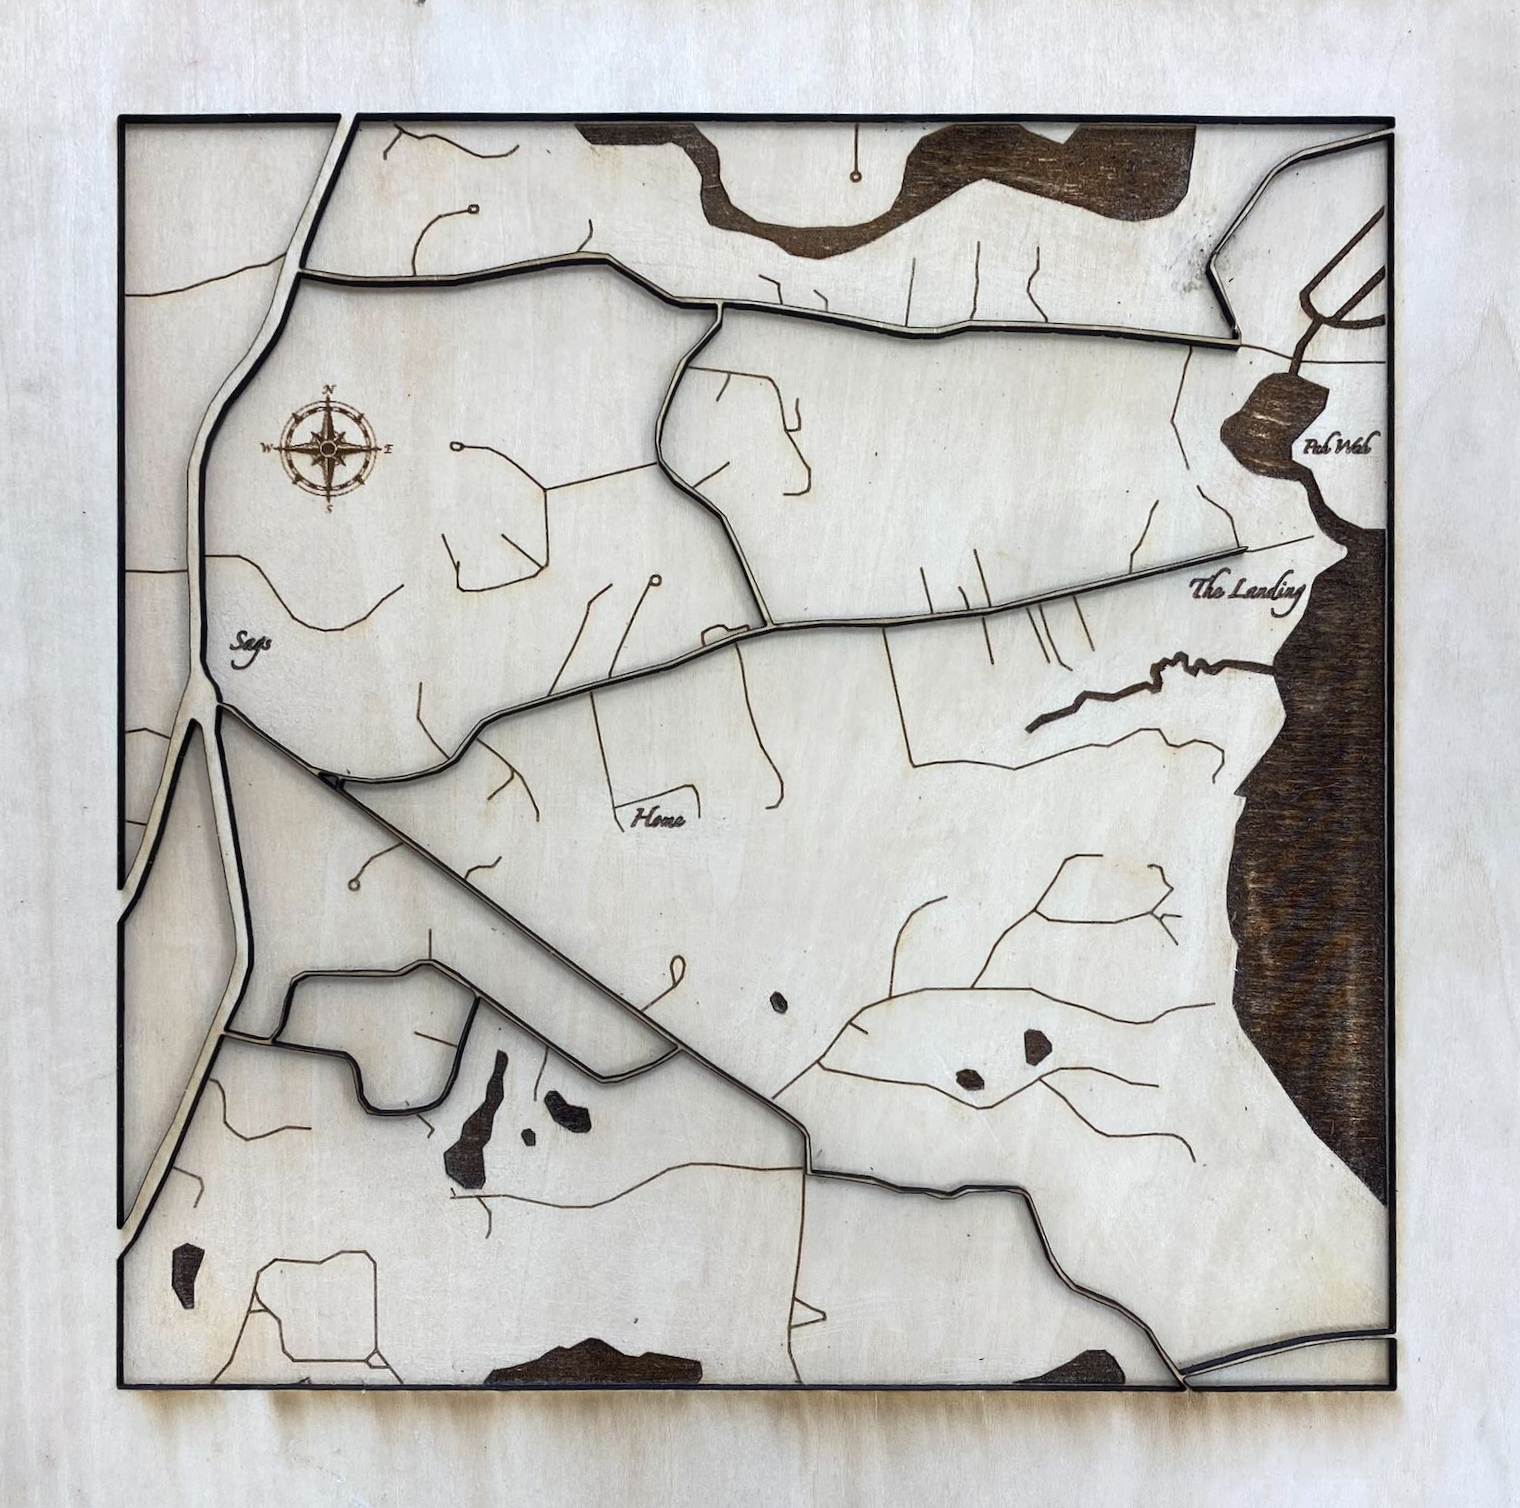
This map was traced, edited, and enhanced in separate layers in Illustrator before being sent to the laser to be engraved, scored, and cut.
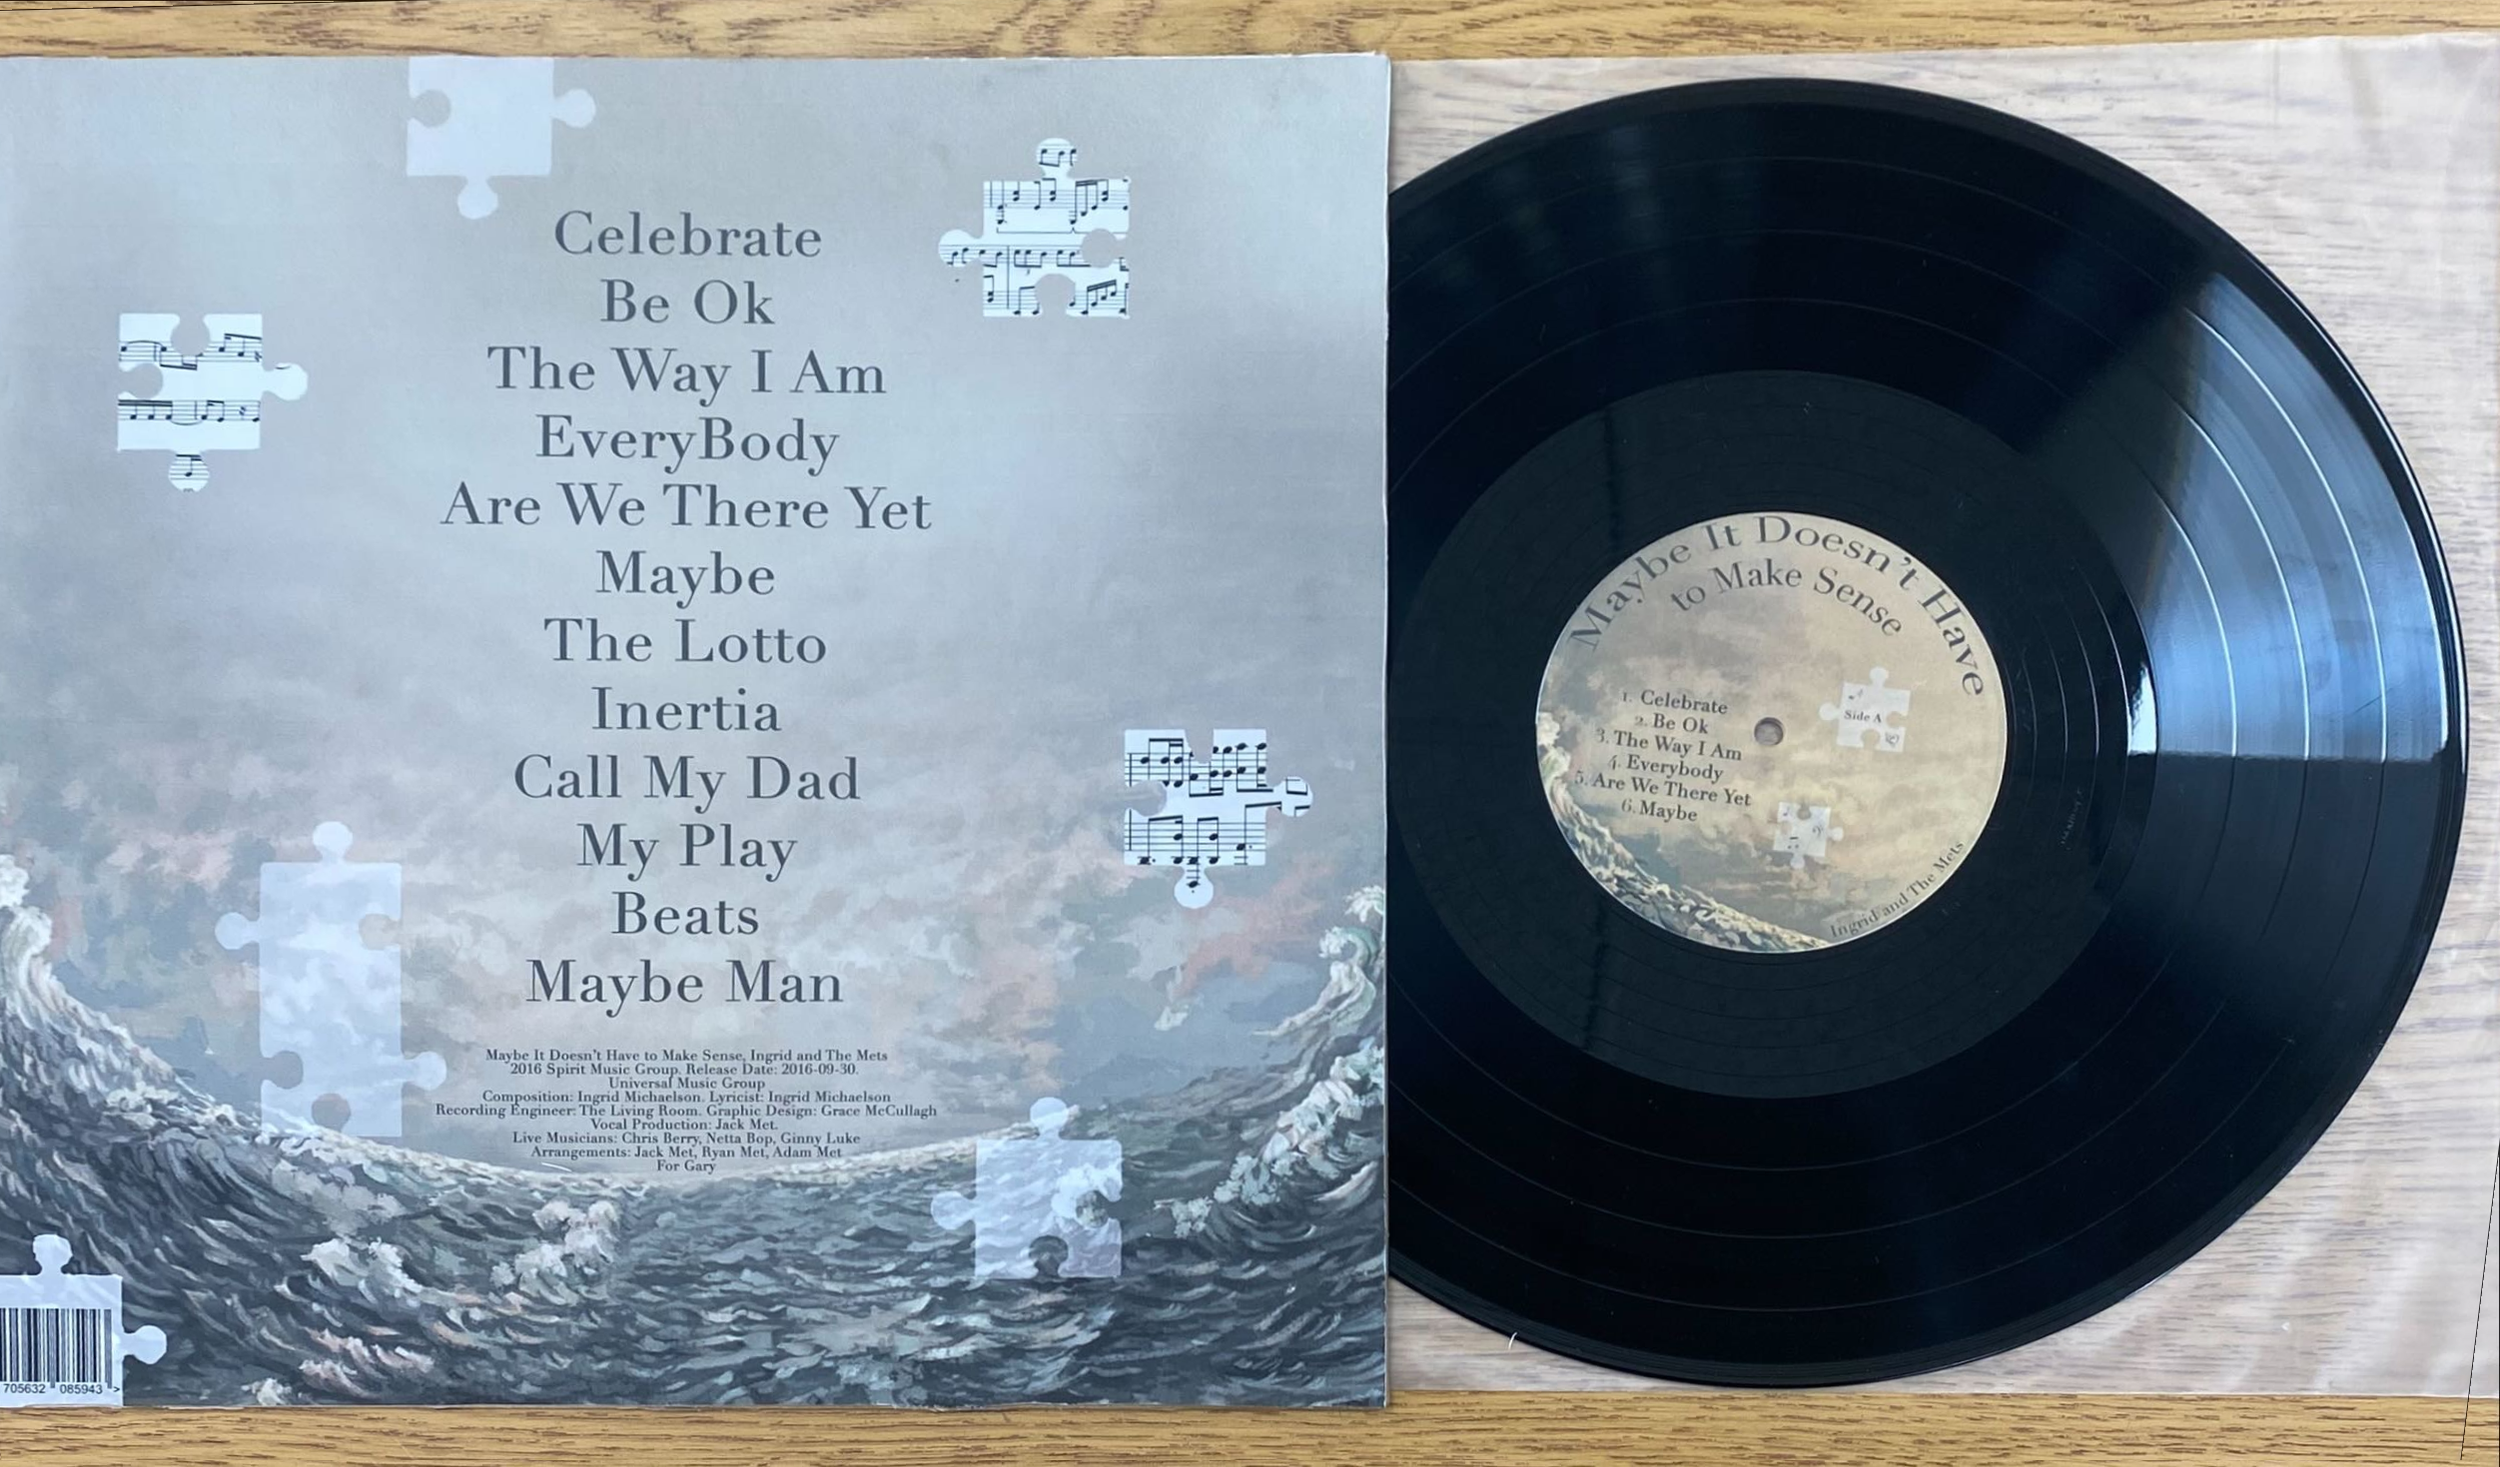
This student designed a new album sleeve and center labels for an imagined colloborative album from their favorite artists using Photoshop. After printing, the labels were trimmed using a laser cutter and glued onto a thrifted record.
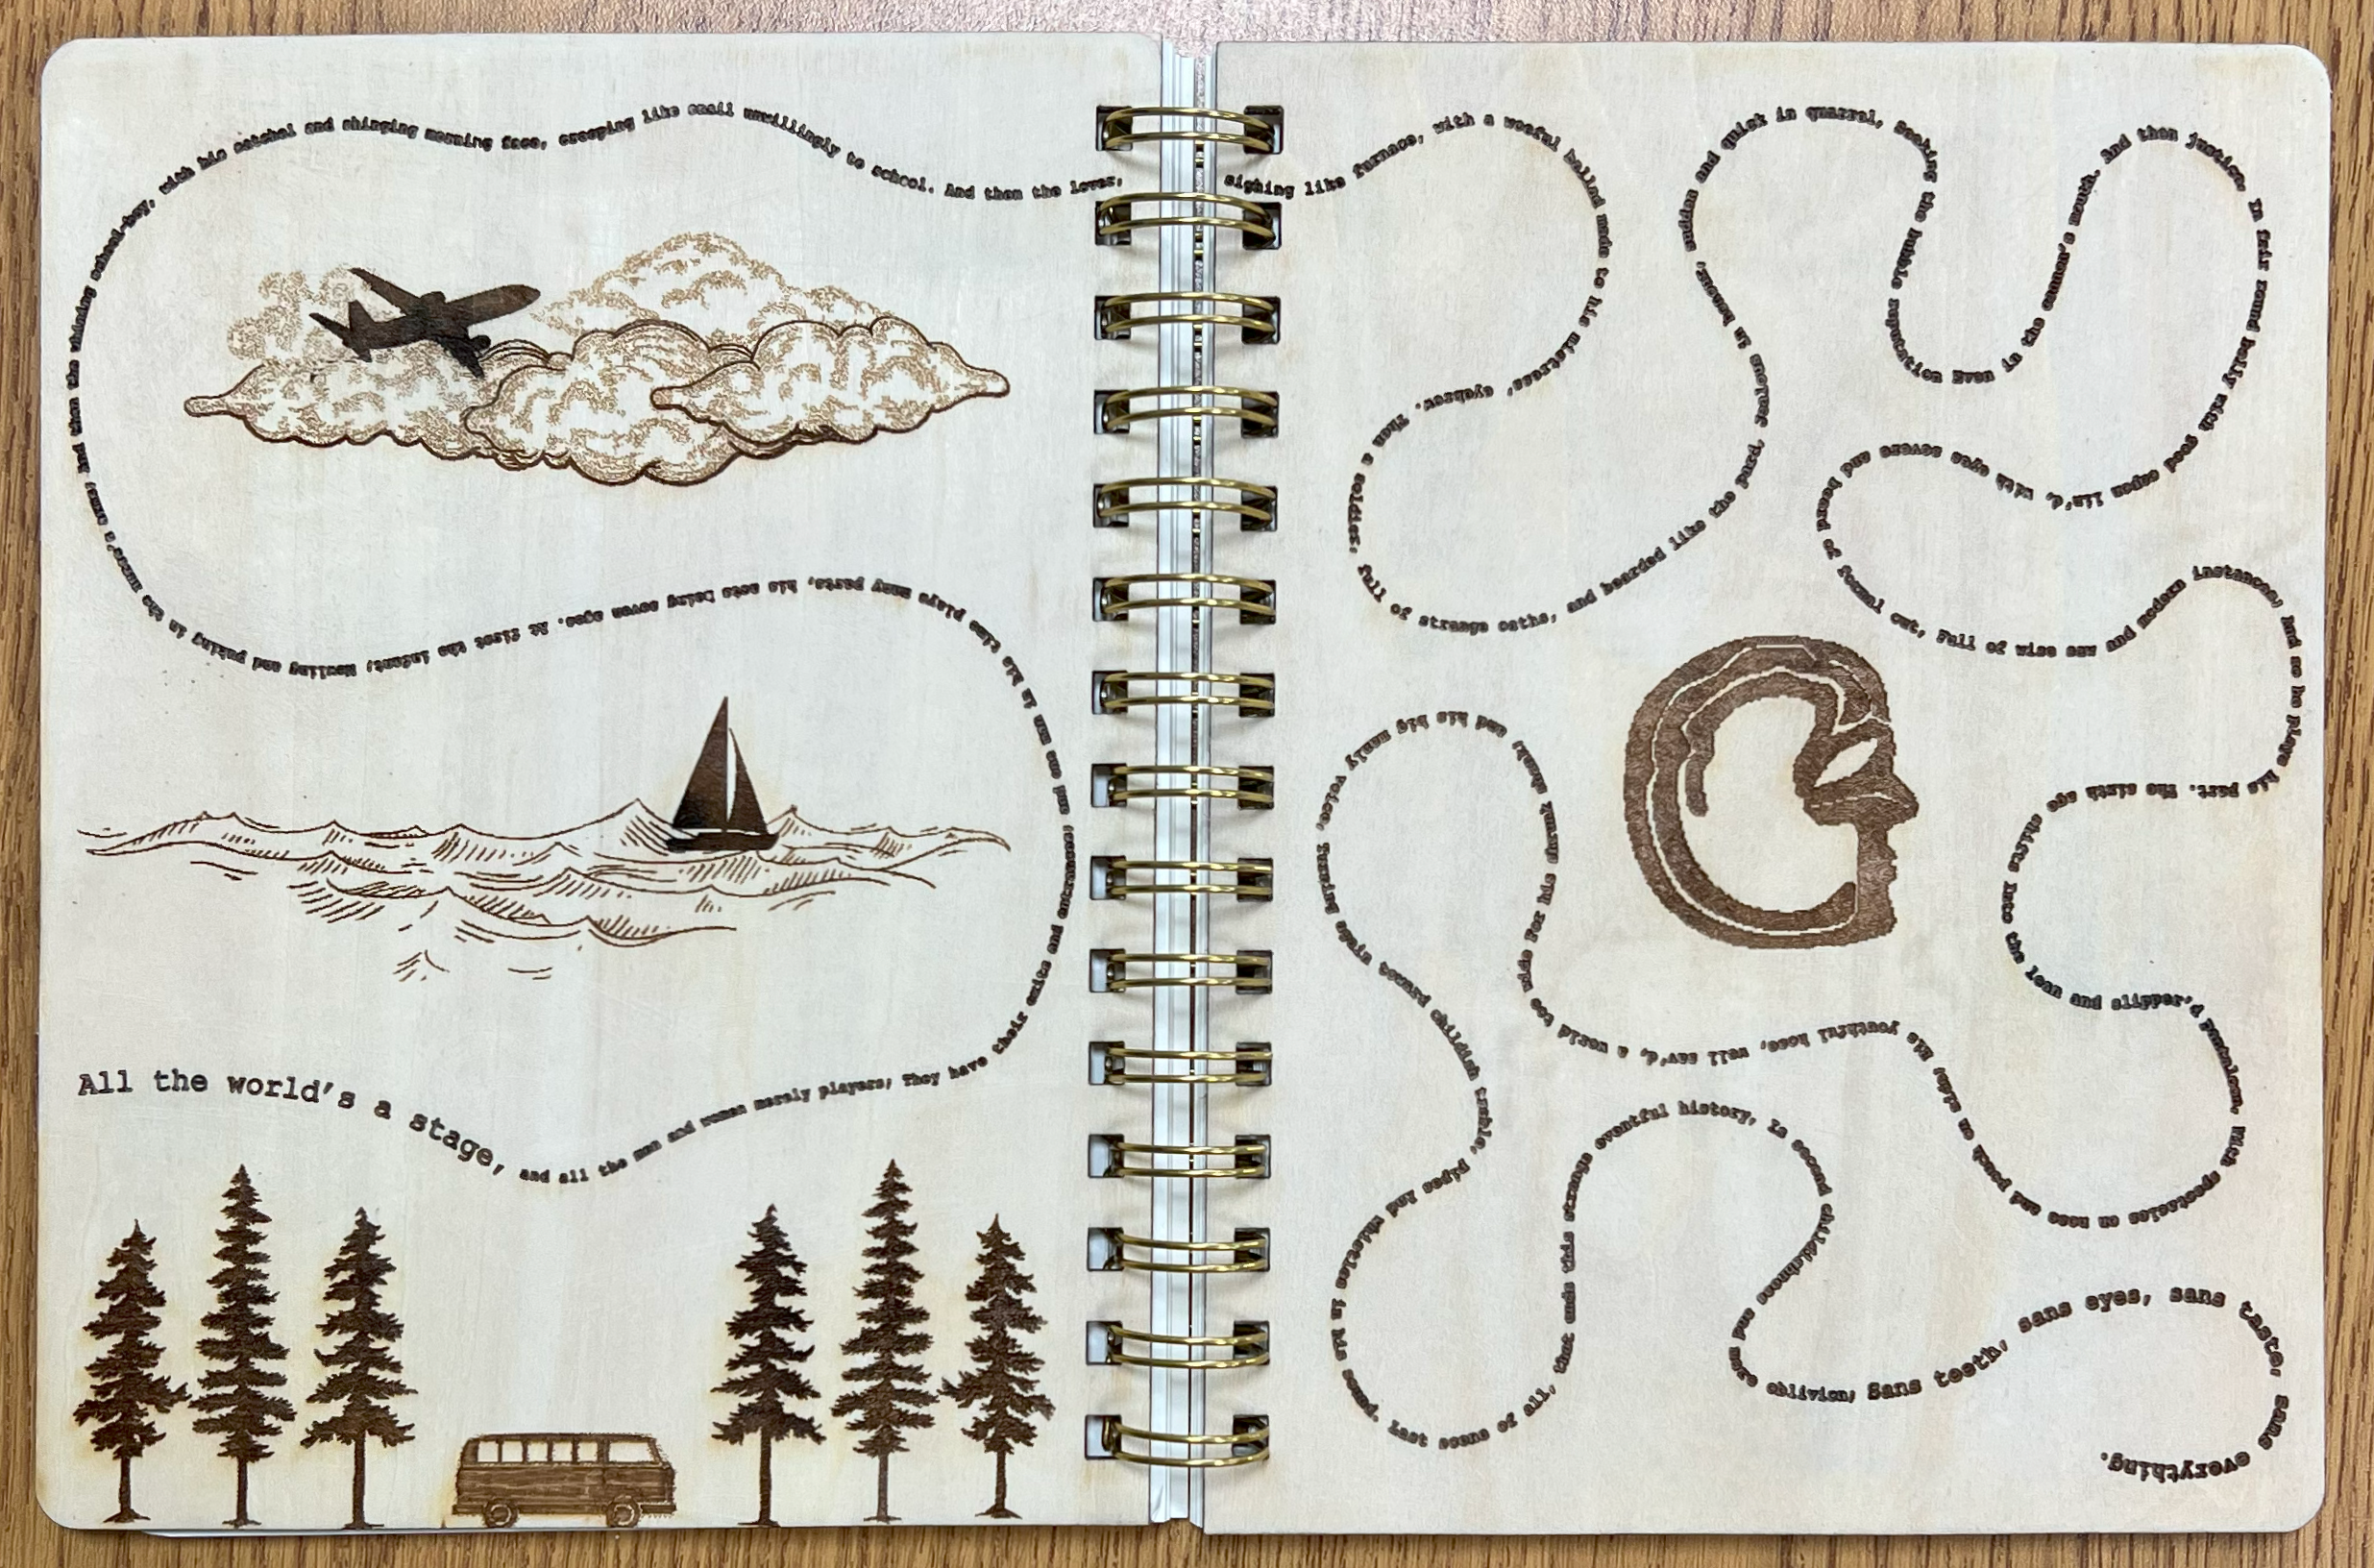
This student created personalized covers for their spiral bound notebook using Illustrator before sending the files to the laser for etching and cutting. Final assembly was done by hand.
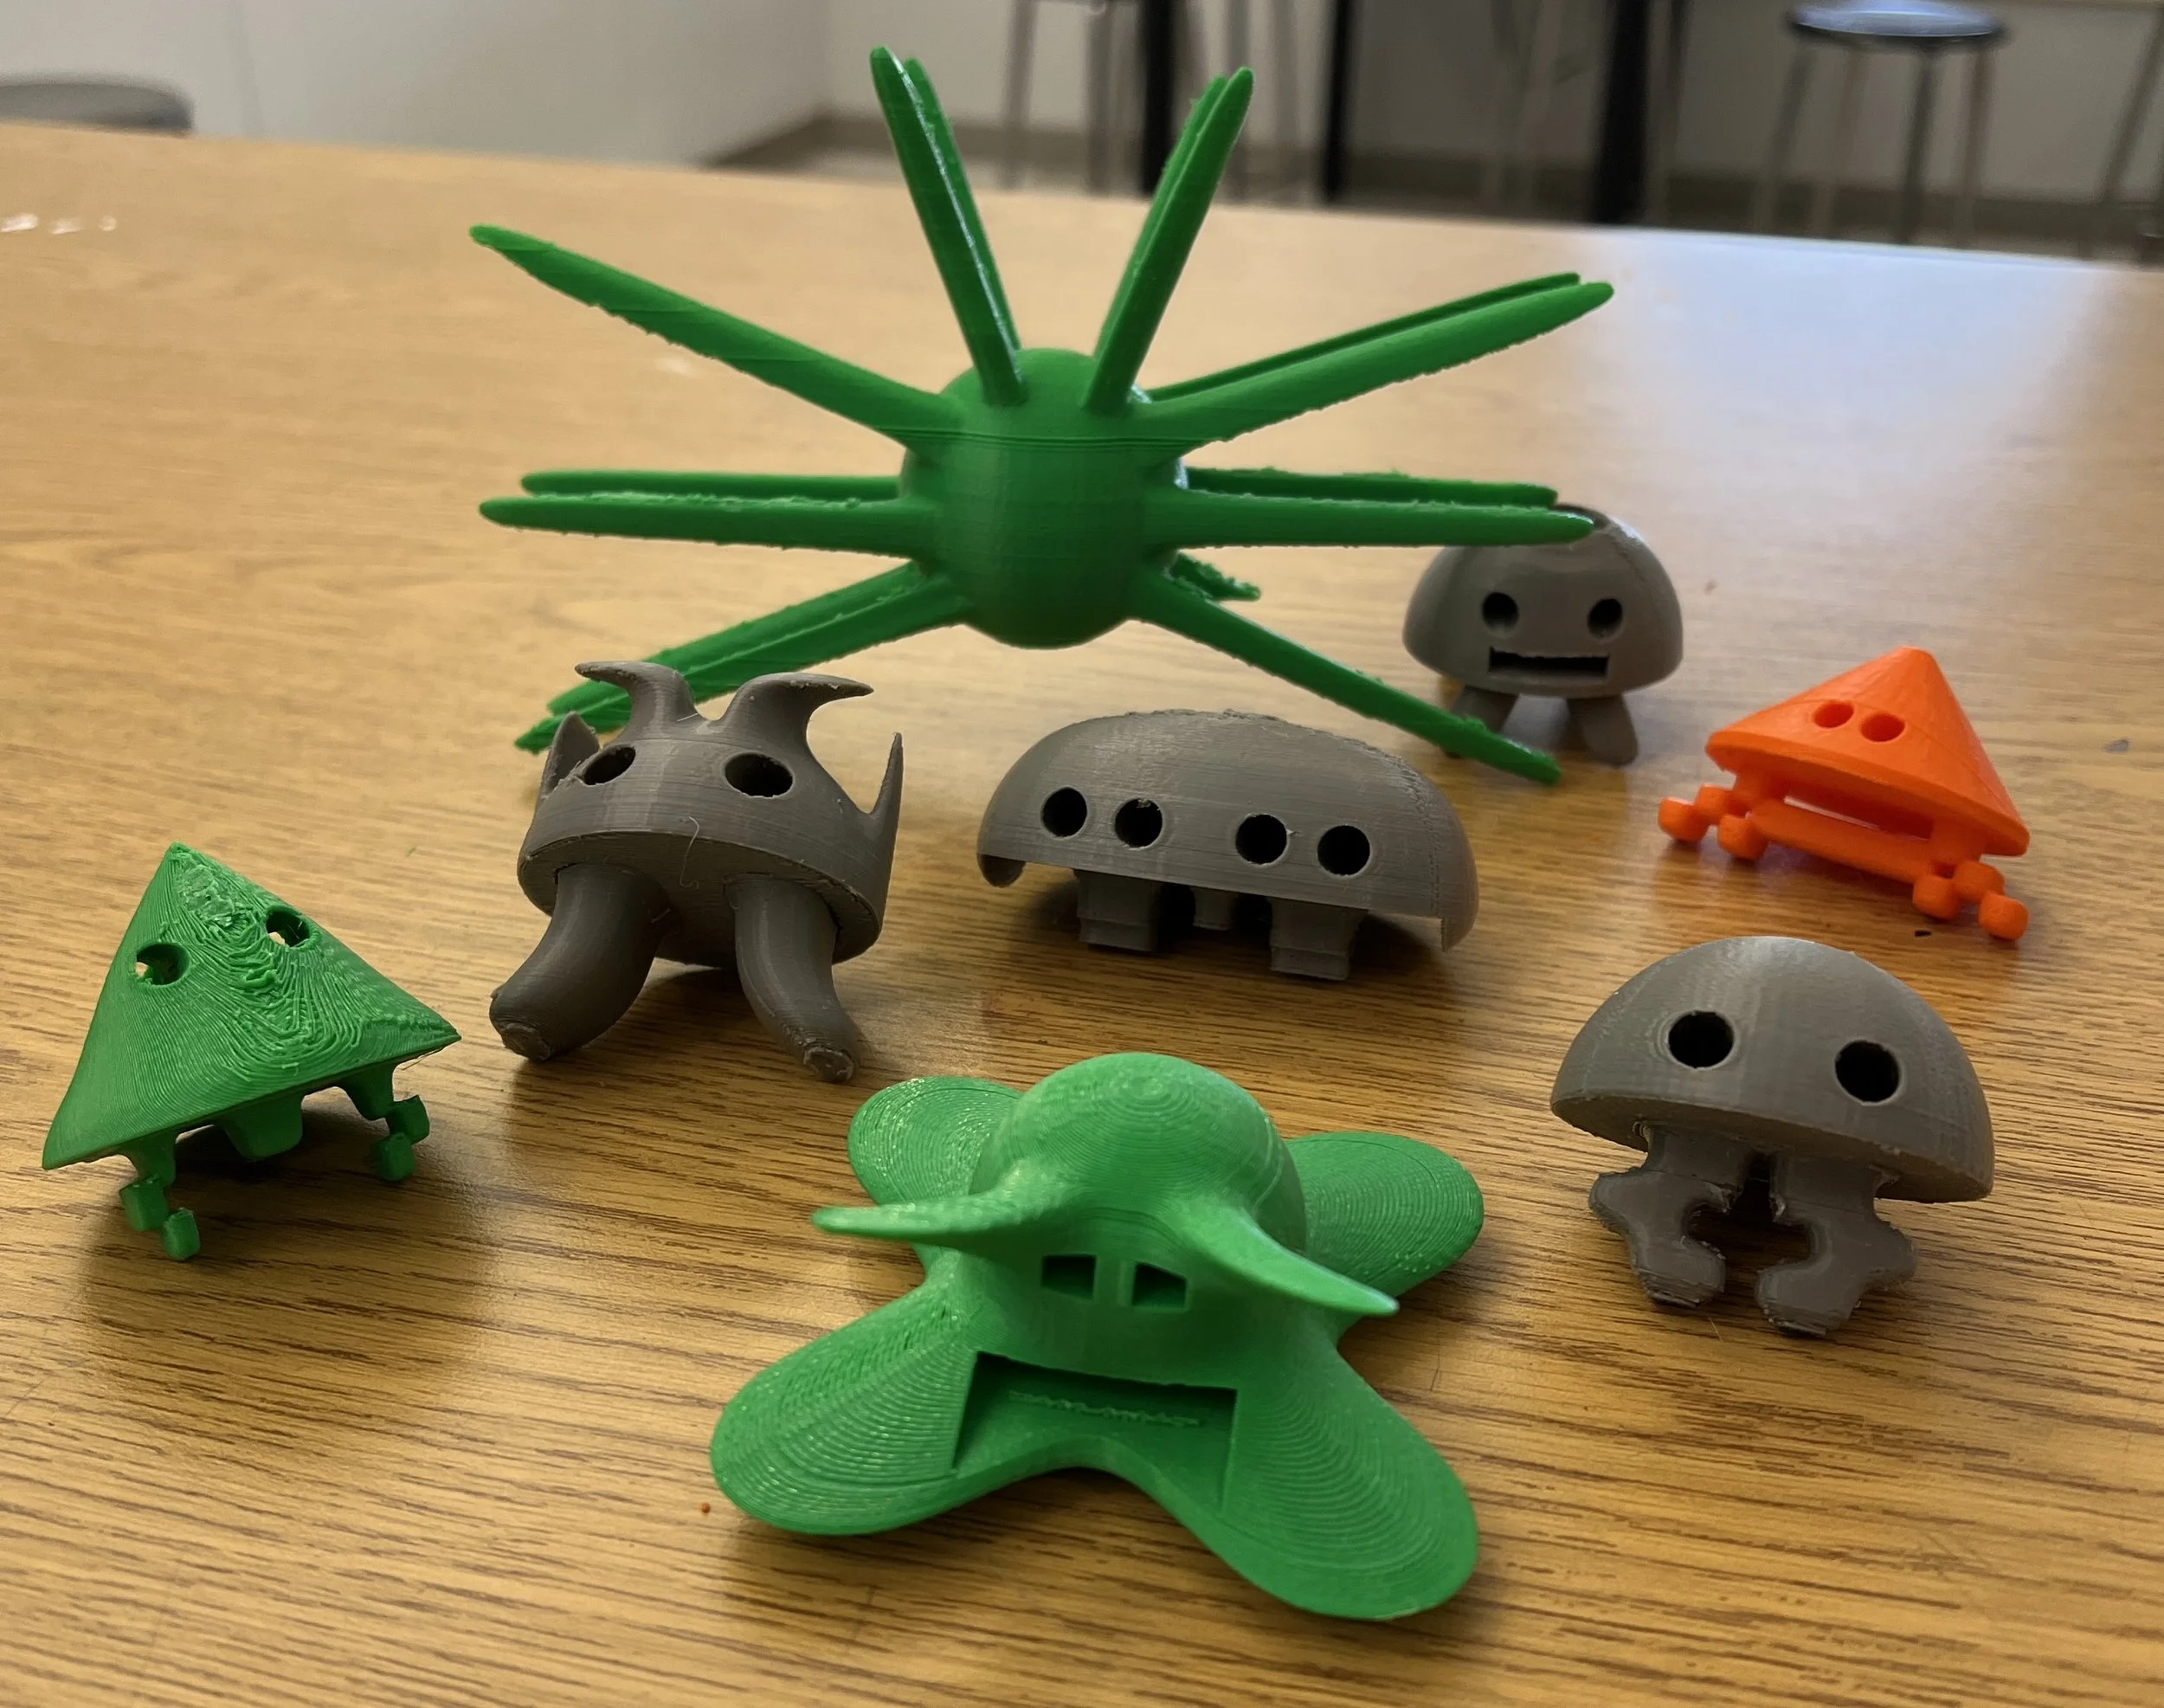
Using Fusion’s Form Modeling environment, this student took inspiration from a classic 8 bit video game to create board game pieces. After modeling them in Fusion, they were 3D printed.
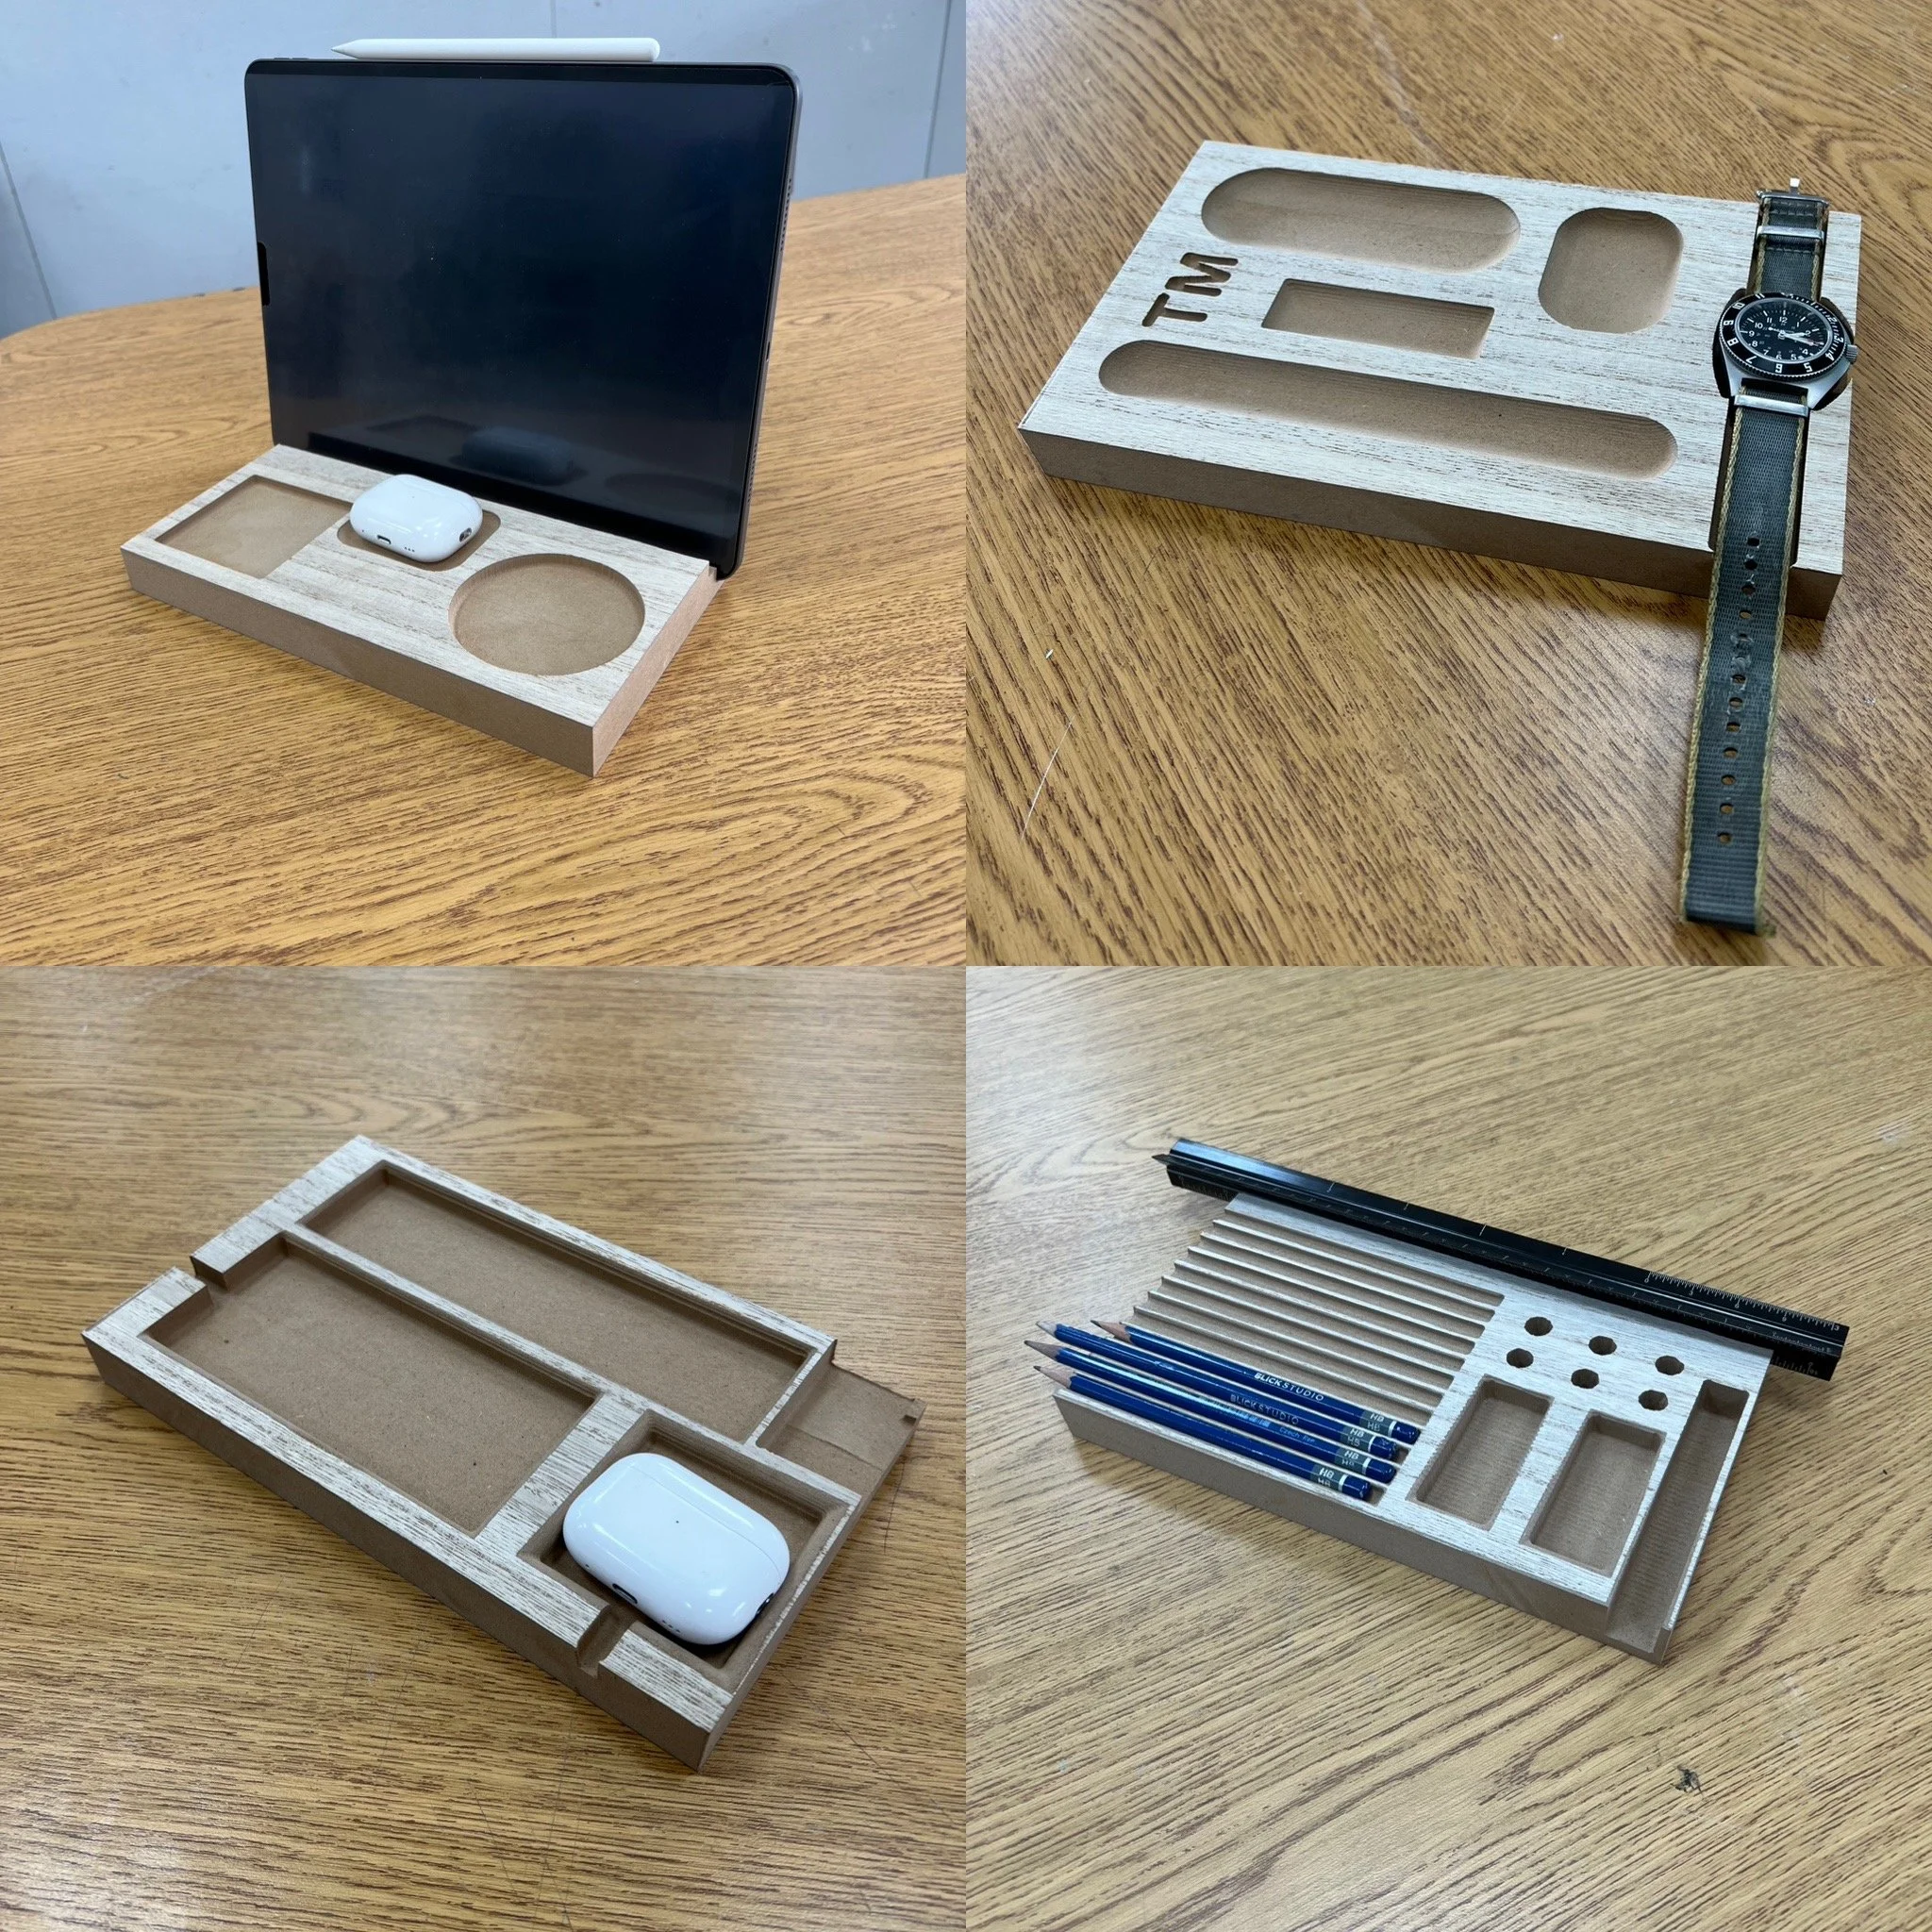
Students used Fusion to design personalized desktop accessory trays, taking measurements from a block of MDF. Once their designs were finished, the trays were carved from the MDF using a CNC.
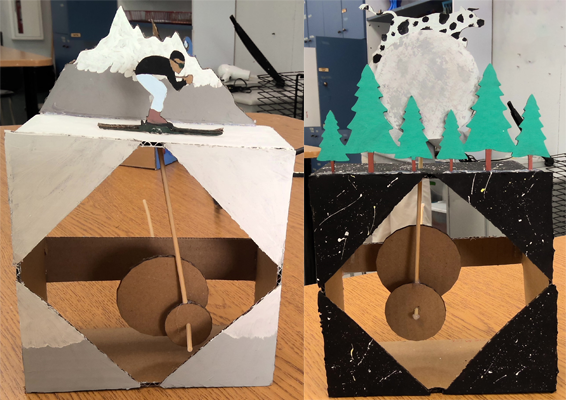
These students created automatas that mechanically move the skier up and over invisible moguls and the cow jumps over the moon. Made of cardboard, the gears, primary subjects, and all background and foreground elements were either created or manipulated in TinkerCAD before being cut on with the laser cutter. After assembly and testing the automatas were painted to complete the scenes.
After using TinkerCAD to create foreground, midground, and background layers, carboard was cut on the laser cutter. Assembly and painting followed to finish the scenes.
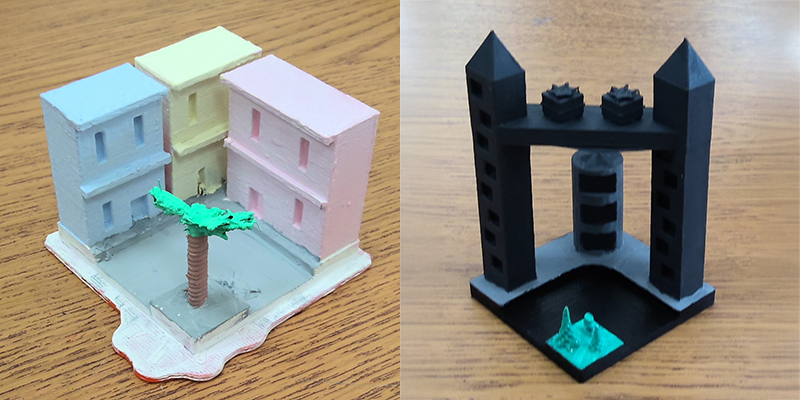
The class was given a 2.5”x2.5” base in TinkerCAD and asked to create their own personalized city block. Once 3D printed and painted the blocks are able to be interconnected in a myrid of ways due to all having a central street of the same size.